.svg)


.svg)
.png)


TypeScript is a strict syntactical superset of JavaScript, developed by Microsoft. It can be used in conjunction with React Native, an open-source framework created by Facebook to develop Android and iOS apps.
Let’s get started with this tech stack.
What is TypeScript?
In a company like Facebook, Google, Uber, etc. it is required to release reliable software updates. So Microsoft came up with a solution (TypeScript) to upgrade the traditional JavaScript language. This new language is capable of detecting errors in code without running or during compilation which makes it suitable to write complex applications.
For example:- const obj = { width: 22, height: 55 };
const area = obj.width * obj.heigth; Here’s an error that TypeScript found while compiling this code snippet.Property 'heigth' does not exist on type '{ width: number; height: number; }'. Did you mean 'height'?
It makes TypeScript a statically-typed language. Meaning that a variable is known at compile-time instead of at runtime.
Now let’s move on to use TypeScript with the React Native app.
Initializing
There are different ways to get started with a new React Native and TypeScript project. For example, we can either use TypeScript template, Expo or Ignite. But for the sake of this tutorial, we’ll use Expo.
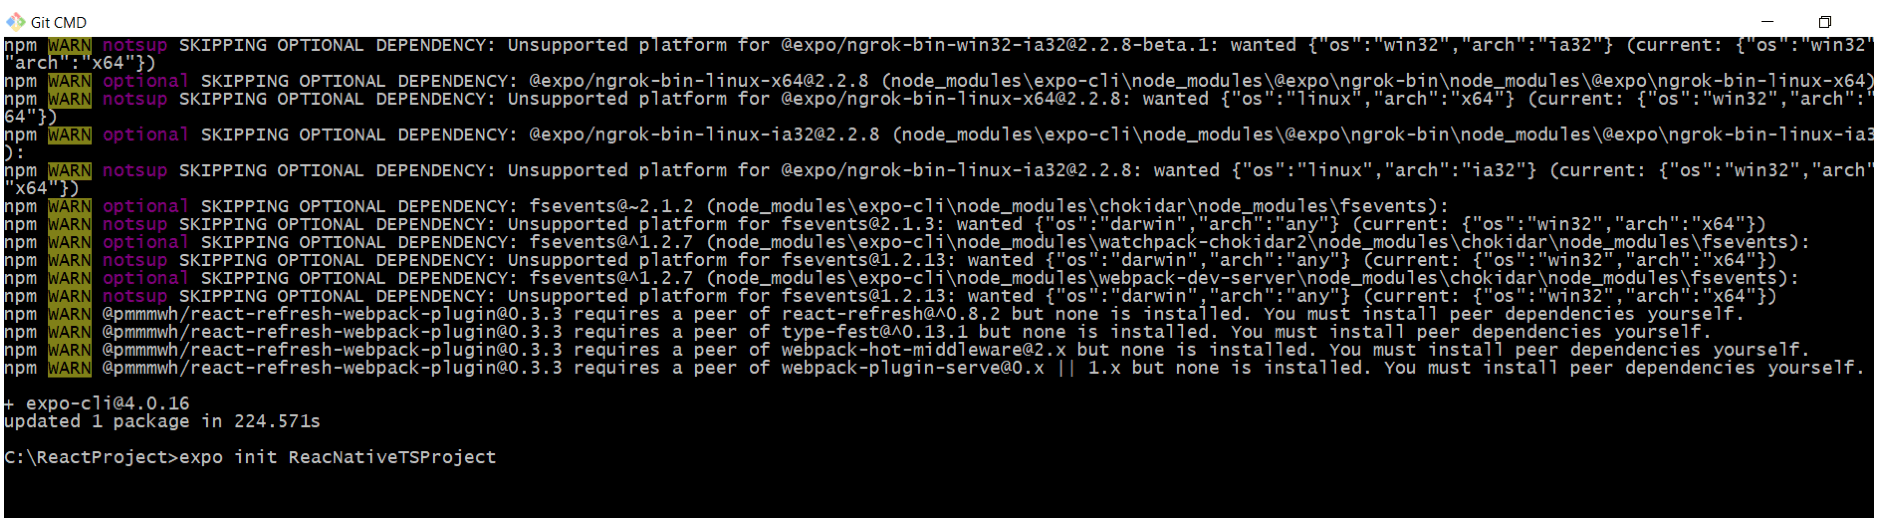
Let’s install the expo-cli using npm. The installation process will take some time, so please be patient.npm install -g expo-cli

Now initialize the project. ReacNativeTSProject is simply the name of our app. So you can customize it according to your needs.expo init ReacNativeTSProject
The next step is to add TypeScript to your project. You can choose an option from the menu that just appeared in the terminal. Press the Tab or arrow keys to navigate and hit Enter to select. For now, we'll select the tabs (TypeScript) option.
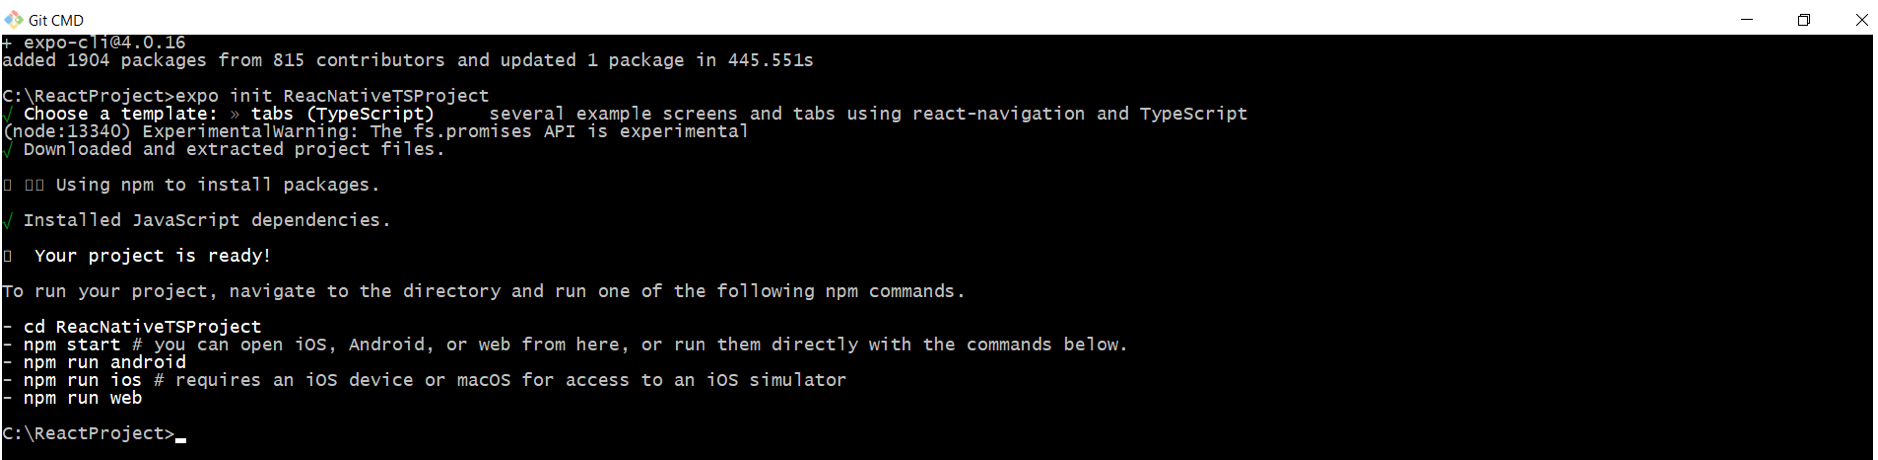
Once everything is set up correctly, it's time to run the project. We can either run it on Android, iOS or the web. For the purposes of this tutorial, we'll open the web version. To do so, move inside the project root folder and run the webserver using the following commands.cd ReacNativeTSProject
npm run web
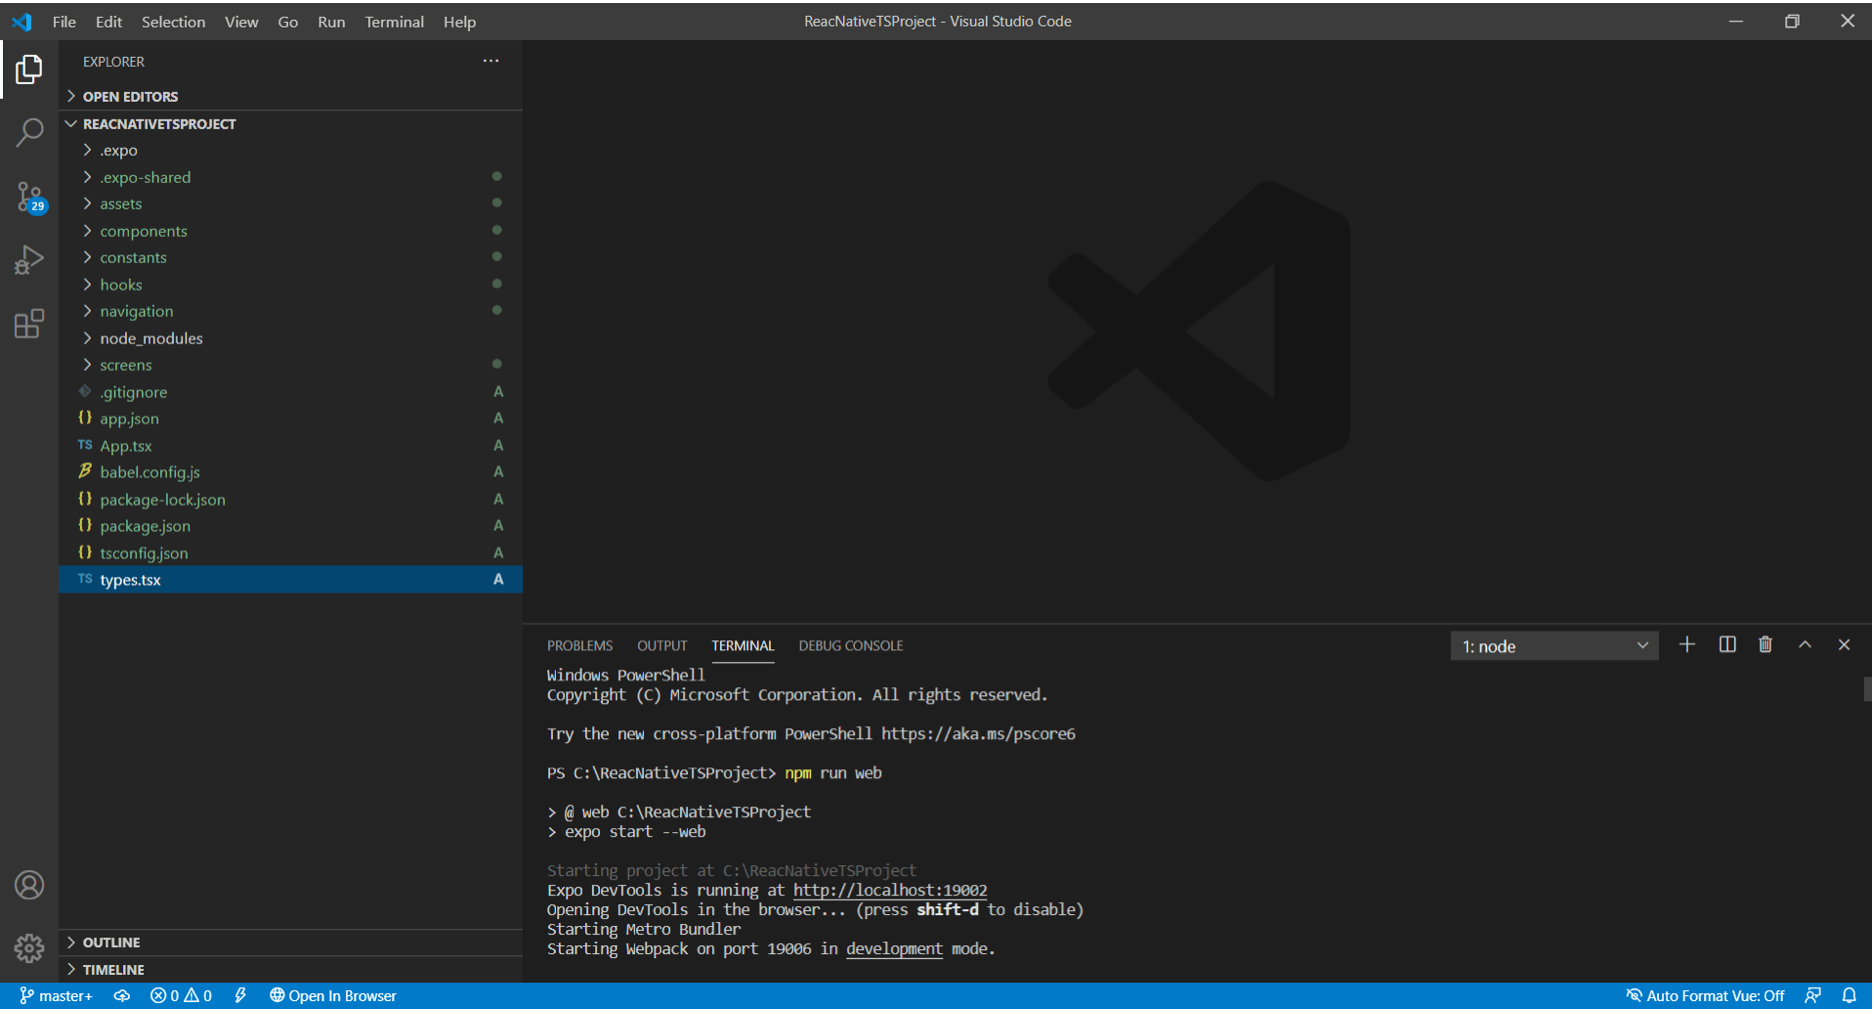
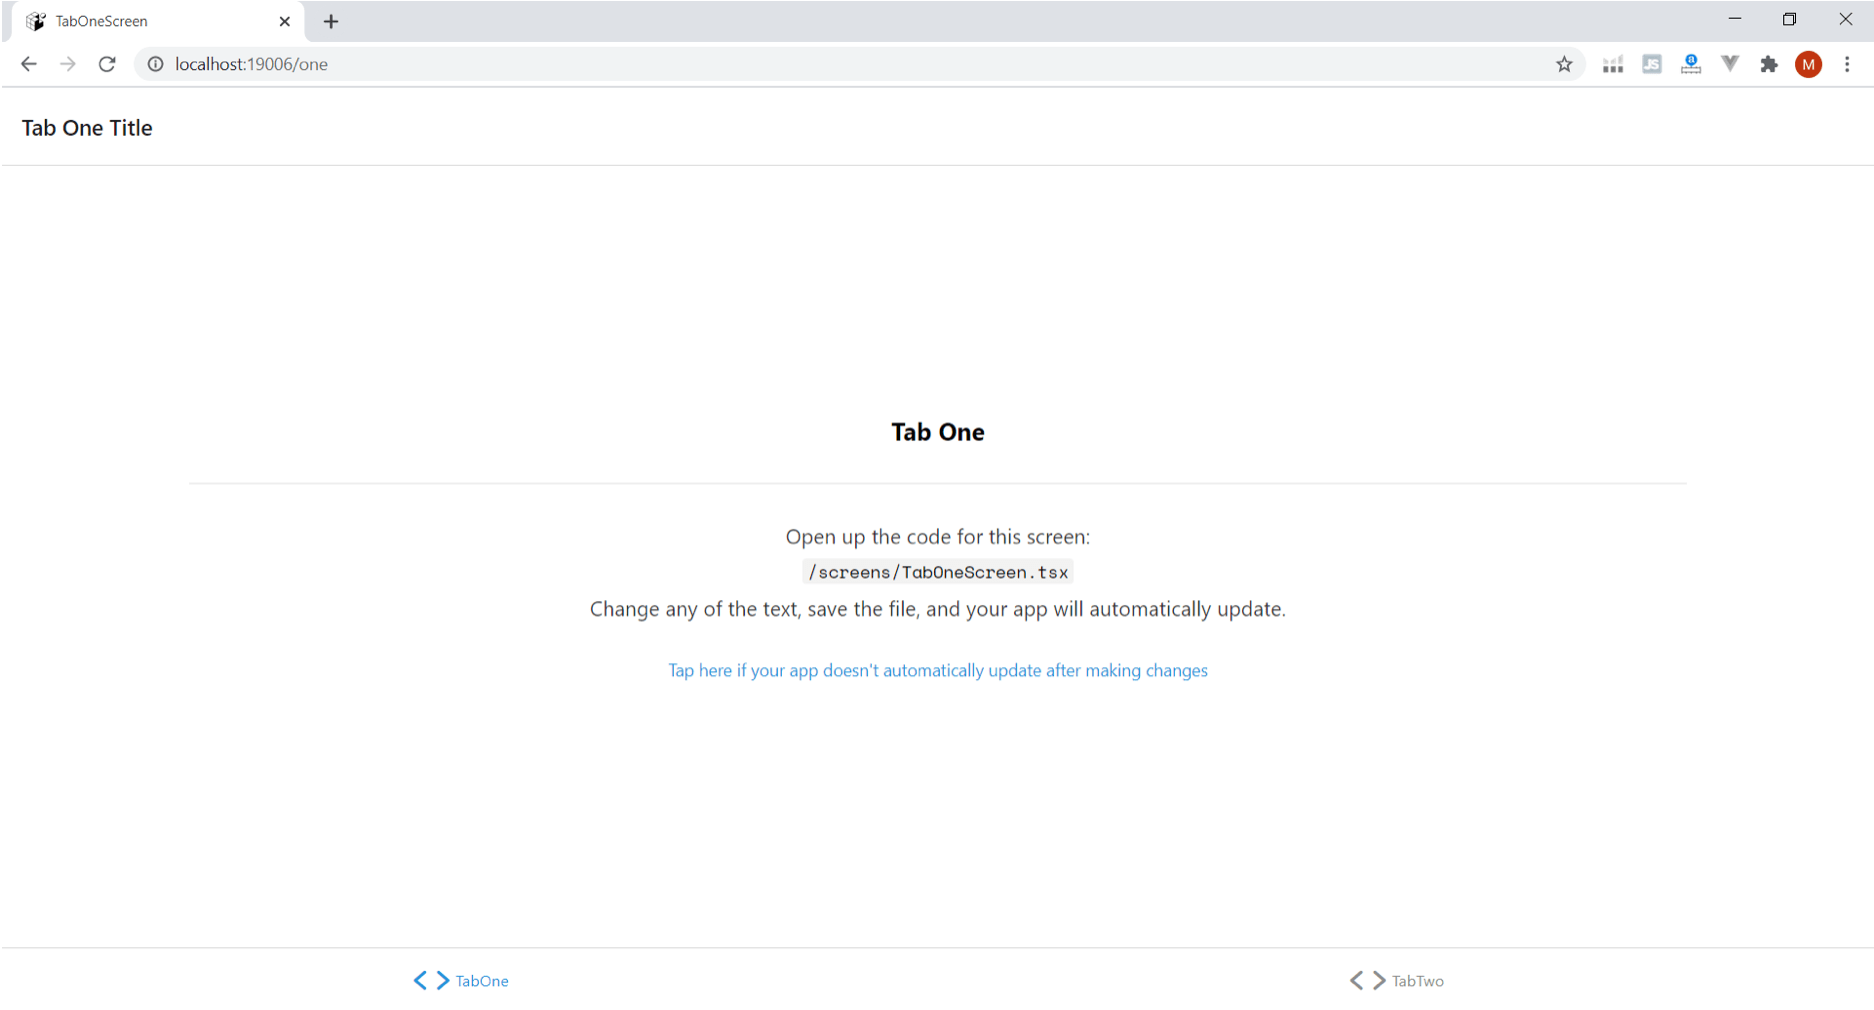
After starting the local web server, your app will automatically load in the default web browser.
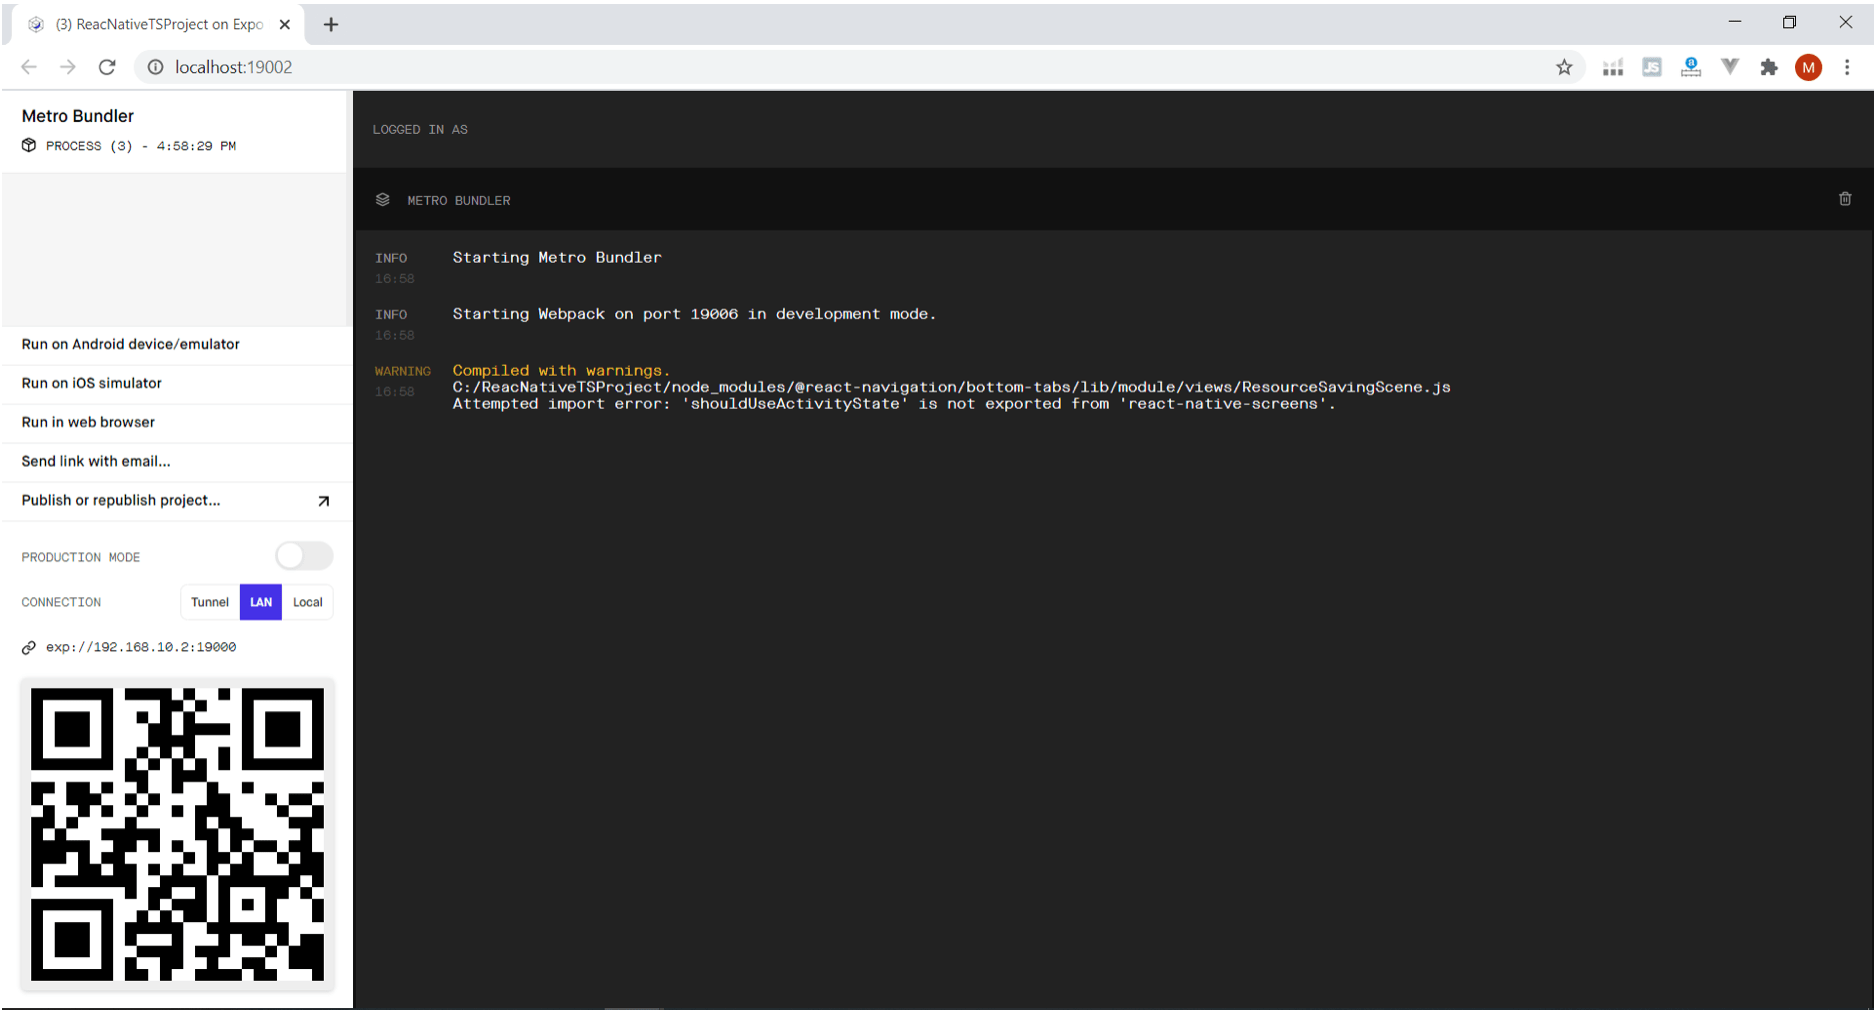
By default, a sample web page will be displayed which you can update by editing the /screens/TabOneScreen.tsx file.
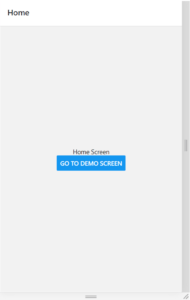
Now let's create a routing and navigation system in our React Native app. We will create a button that once clicked, will show some demo text on the screen. On the new screen a back arrow button will be displayed to return to the previous screen.To do so, remove all the code from the App.tsx file.
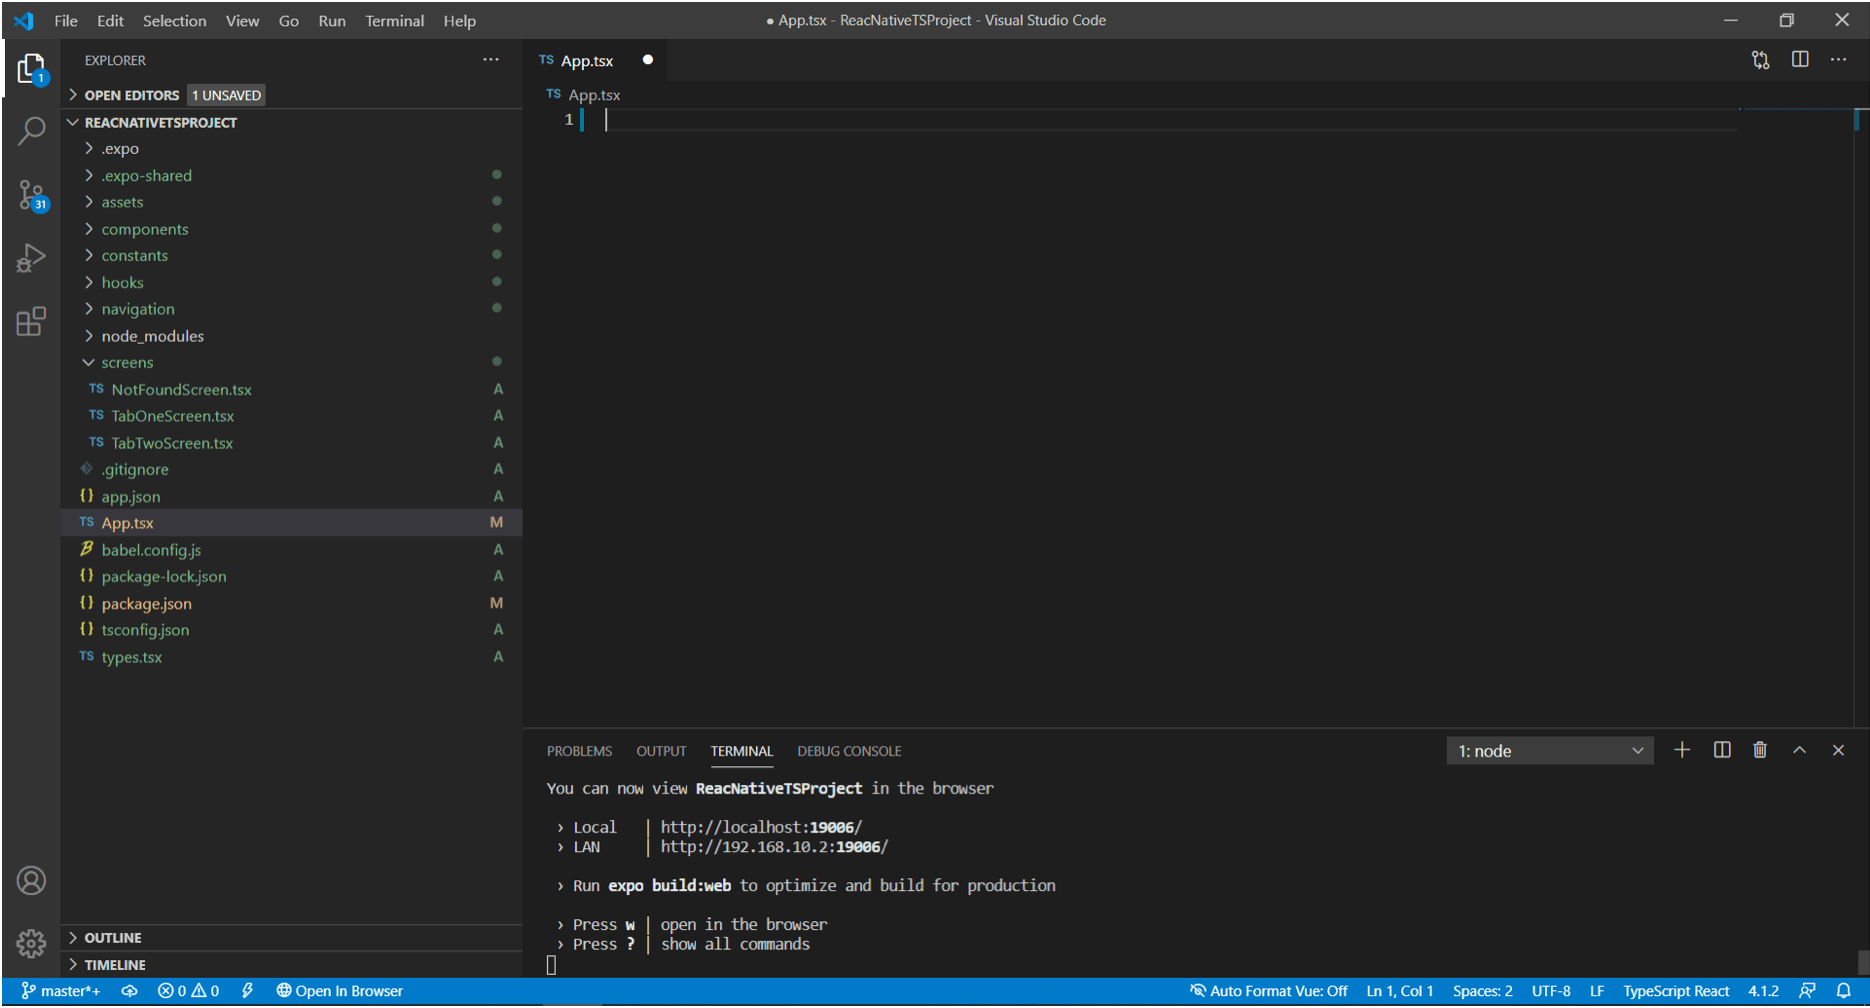
Now, copy the below-mentioned code-snippet and paste it inside the App.tsx file. You will see that the web page is automatically updated. In the below code we just created a few components and displayed them on the screen.import * as React from 'react';
import { Button, View, Text } from 'react-native';
import { NavigationContainer } from '@react-navigation/native';
import { createStackNavigator } from '@react-navigation/stack';
function HomeScreen({ navigation }) {
return (
<View style={{ flex: 1, alignItems: 'center', justifyContent: 'center' }}>
<Text>Home Screen</Text>
<Button
title="Go to Demo Screen"
onPress={() => navigation.navigate('Details')}
/>
</View>
);
}
function DetailsScreen({ navigation }) {
return (
<View style={{ flex: 1, alignItems: 'center', justifyContent: 'center' }}>
<Text>Lorem ipsum dolor sit amet, consectetuer adipiscing elit. Aenean commodo ligula eget dolor. Aenean massa. Cum sociis natoque penatibus et magnis dis parturient montes, nascetur ridiculus mus. Donec quam felis, ultricies nec, pellentesque eu, pretium quis, sem. Nulla consequat massa quis enim. Donec pede justo, fringilla vel, aliquet nec, vulputate eget,</Text>
</View>
);
}
const Stack = createStackNavigator();
function App() {
return (
<NavigationContainer>
<Stack.Navigator initialRouteName="Home">
<Stack.Screen name="Home" component={HomeScreen} />
<Stack.Screen name="Details" component={DetailsScreen} />
</Stack.Navigator>
</NavigationContainer>
);
}
export default App;
Conclusion
Using TypeScript to create React Native apps really enhances the reliability of code. It's way better than JavaScript to create large projects because several developers are working together on the same code base. So, there's a lot of chance for errors.
TypeScript makes sure that you only release error-free software. It makes the entire development process easier and faster for developers.
Want to keep reading?


.svg)
